
Attachment fields allow users to upload files to the submission form. In order for a user to upload an attachment, two parts need to be added to the form:
- The attachment folder, which serves as a container for the attachment file.
- The attachment item on the form that creates an Attach button to browse and upload files.
Creating the Attachment Folder
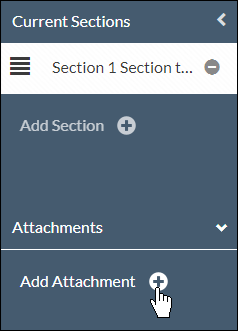
Click Add Attachment in the left-hand menu.
With the attachment selected in the left-hand menu, enter a Title for the attachment in the right-hand Properties pane. The title will automatically update in the menu.
Tip: Group attachments by naming folders by type, such as recruitment letters, data collections, etc.
To allow a user to upload more than one file for this attachment point, toggle Allow Multiple to Yes. Generally, it's good practice to toggle yes for all of your attachment folders.

Uploading Sample Attachments
If you want to include a sample attachment as a guide for users, click  .
.
Please Note: File attachments are limited to 20 MB.
Click  to add the sample(s), then click
  to add them to the attachment entry.

Adding the Attachment Item(s) to the Form
Click the Items tab in the right-hand pane.

Select the Attachment item from the list of items and drag it into the form as a new question, or into an existing question as an appended attachment point.

Tip: For easy template maintenance, use the same title for the attachment item(s) that you did for the attachment folder.

Linking the Attachment Item(s) to an Attachment Entry
Select an attachment item and scroll to the bottom of the Properties tab to Attaches. Click on the icon and drag it over to the attachment entry in the left menu.

The Links section will now show the ID number of the linked attachment folder.
If you have additional locations where you want to link to the same attachment folder, repeat these steps for each attachment item.