
In setting the Fringe Benefit Coding system, the Personnel module allows you to decide how much detail you want to track. You can set up a percentage rate applied to all employees’ fringe benefits, or a composite fringe rate. and choose one rate for all employees or different rates by class of employee (i.e. faculty, staff, students).
Setting Up Benefit Sources
Before you start: Determine how many and what categories of composite fringe rates you will use (i.e. Faculty, Staff, Students). You can use one for all employees, or different rates for different classes of employees, or salary ranges. For example, you can set a code called FAC for Standard Faculty Benefit and a code called STAFF for the Standard Staff Benefit.
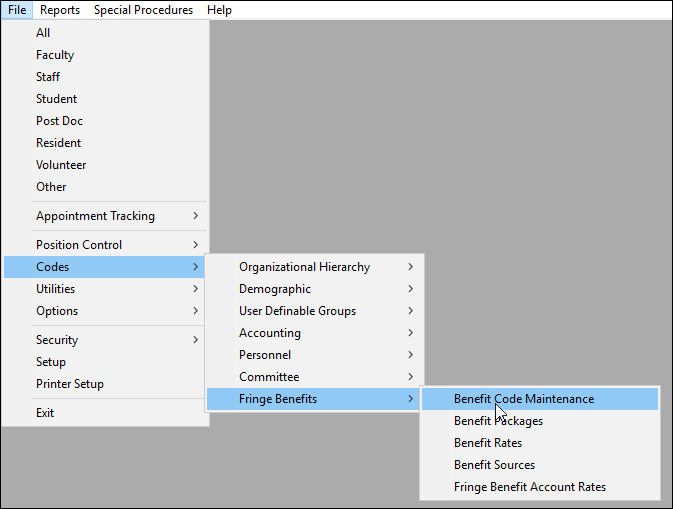
- In the menu, click on File.
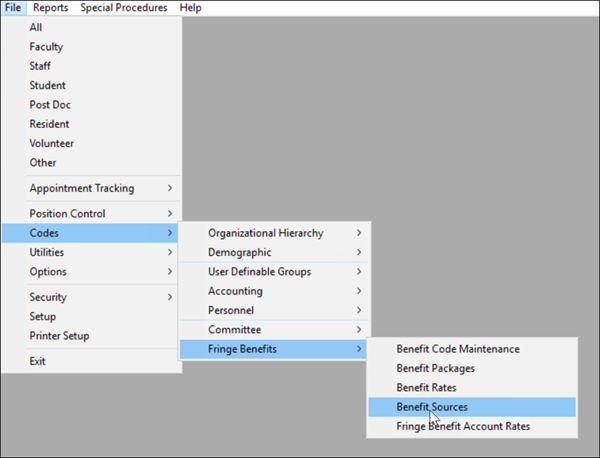
- Navigate to Codes, and then Fringe Benefits.
- Click on Benefit Sources.
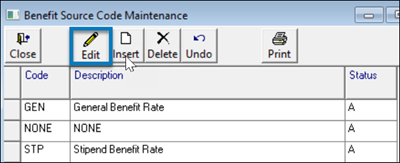
- Click on Edit, and then click on Insert.
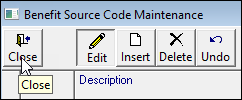
- In the new row, enter the Code, Description, and set the Status to A for Active.
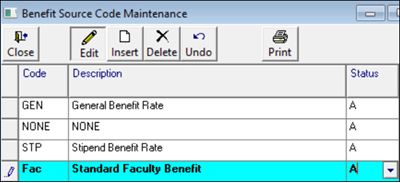
- Click Close to save.
Please Note: If at a later date you decide you will no longer be using a particular code, set the status to T for Terminate. Do not delete codes that have been used in Department Manager.
Grouping Benefit Source Codes
- In the menu, click on File.
- Navigate to Codes, and then Fringe Benefits.
- Click on Benefit Code Maintenance.
- Click on Edit, and then click on Insert.
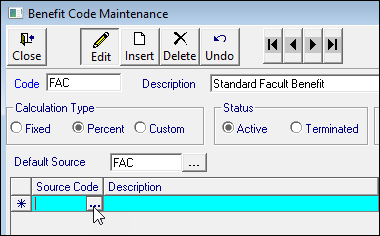
- Enter the Code and Description of the code you just entered in Benefit Sources. Set the calculation type. Most composite rates are percentages. Set the Status to Active. Set Use Charge Benefit Account. Select Yes if fringe benefits will map to a different account than salaries.
- Click on ... to set the Default Source Code (the code that will default unless otherwise specified). Click OK.
- In the source code grid, select from the drop-down menu the benefit sources that will be included in the Benefit Code. For composition rates, the Benefit Source and Benefit Code are usually the same.
- Click Close to Save.
Grouping Benefit Package
Now, you need to group the Benefit Codes and Benefit Codes you just created into a category.
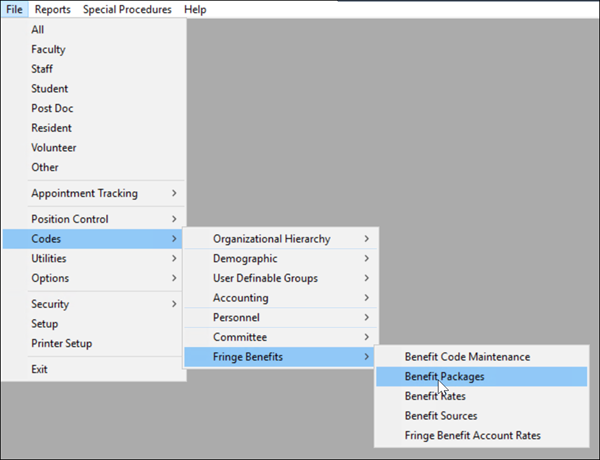
- In the menu, click on File.
- Navigate to Codes, and then Fringe Benefits.
- Click on Benefit Packages.
- Click on Edit, and then click on Insert.
- Enter the code and description, and set the status to Active.
- Click on the drop-down menu next to Benefit Codes and select the appropriate codes from the drop-down menu.
- Click Close to Save.