
Follow the steps below after your payroll transactions have been uploaded to the application for the period you wish to certify for.
Please refer to the Importing Payroll Transactions article if you need assistance with the Financial Import.
Getting Started with Effort Importer
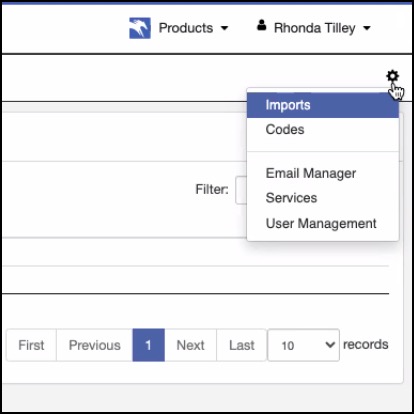
- In the menu located on the right-hand side, select the settings wheel and then select Imports.
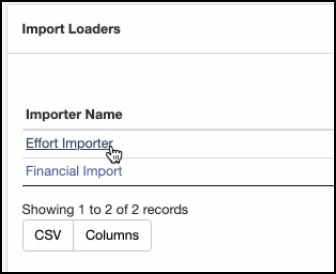
- Select Effort Importer from the options on the left side of the page.
- In the Effort Importer, you will see a list of previous imports. Select Import New File.
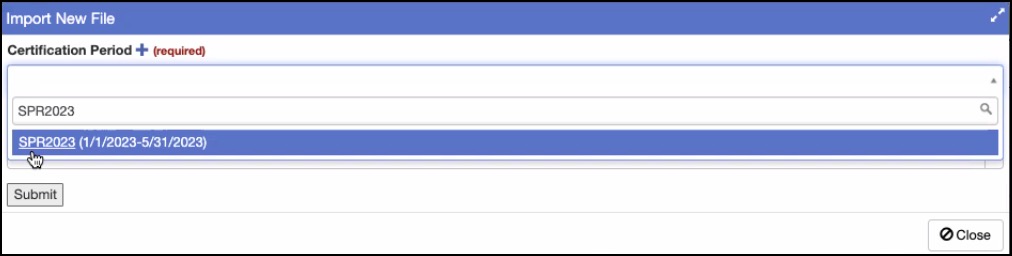
- Select desired Certification Period from the drop-down menu that you want to import the salary data for. You can also use the search bar to search for your selection. Select Submit.
- You have the ability to either import all personnel paid, or a single individual.
- Importing all personnel paid: After selecting a Certification Period, click Submit without making a selection from the Person drop-down.
- Importing one individual: Make a selection from the Person drop-down menu, or use the search bar before selecting Submit.
- A pop-up will display, indicating that the import has started. You may close out of the pop-up and continue working while the upload is processing in the background.
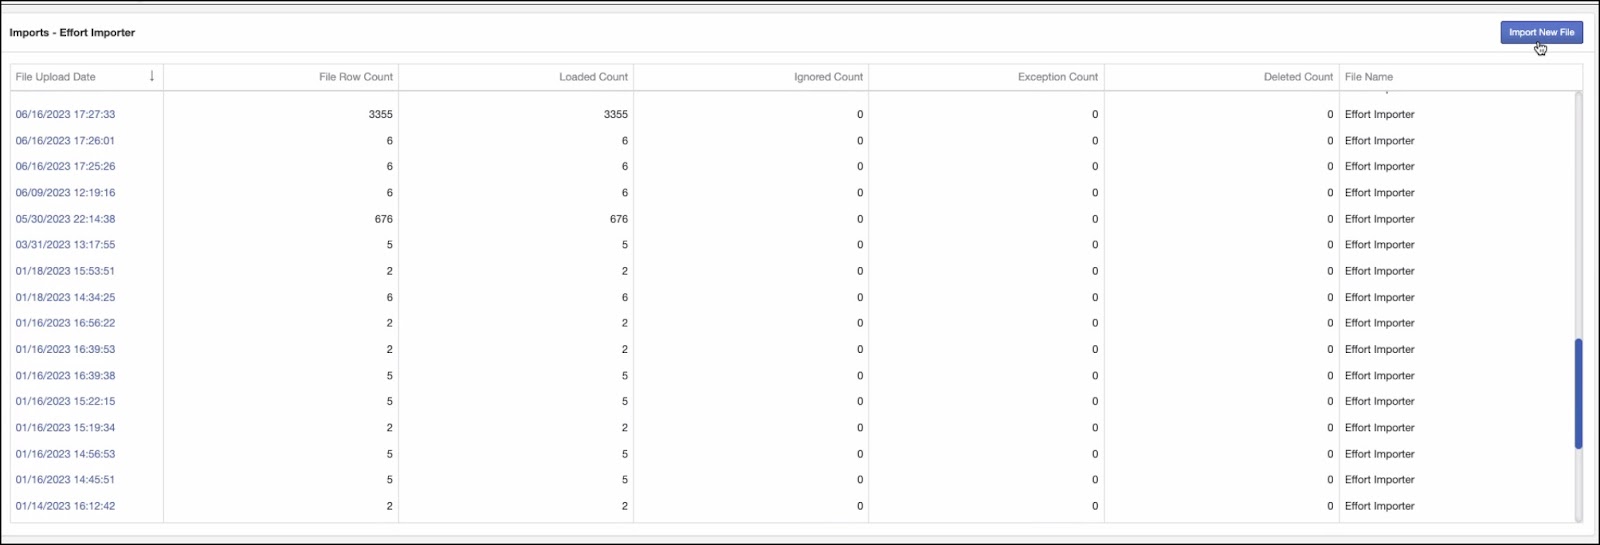
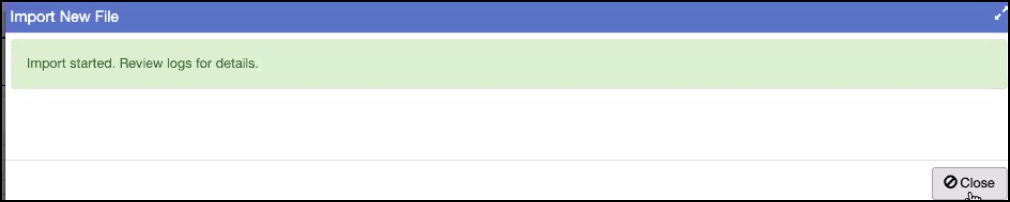
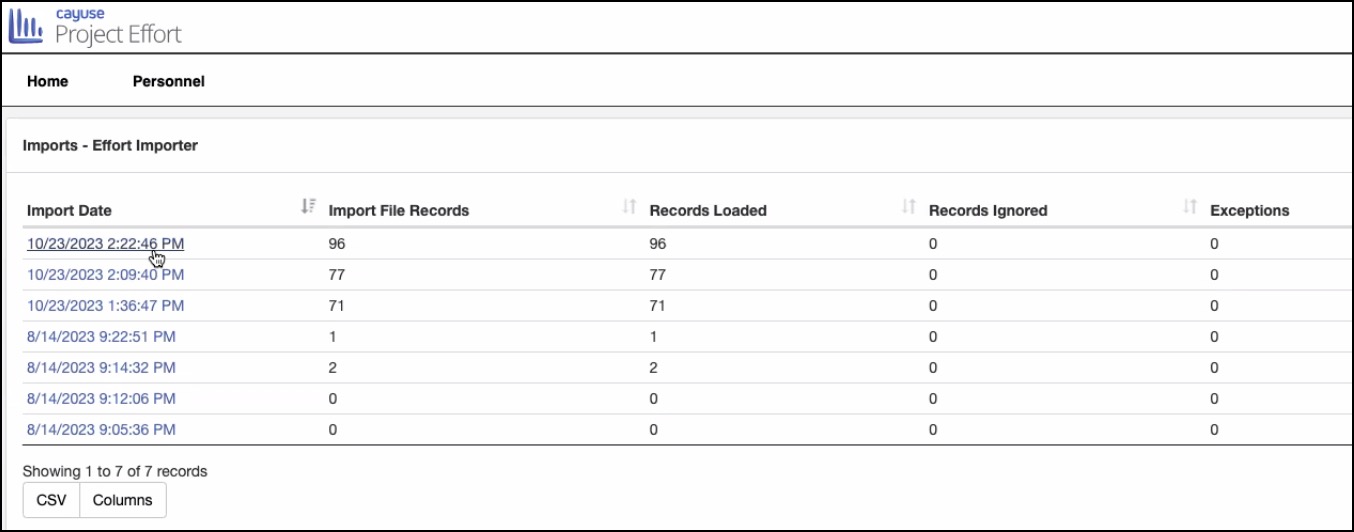
- Depending on the size of your import, completion can take varying amounts of time. Completed file uploads will appear on the Effort Import landing page with the date and time of the import.
The columns in the Effort Import landing page display additional information about the imports.
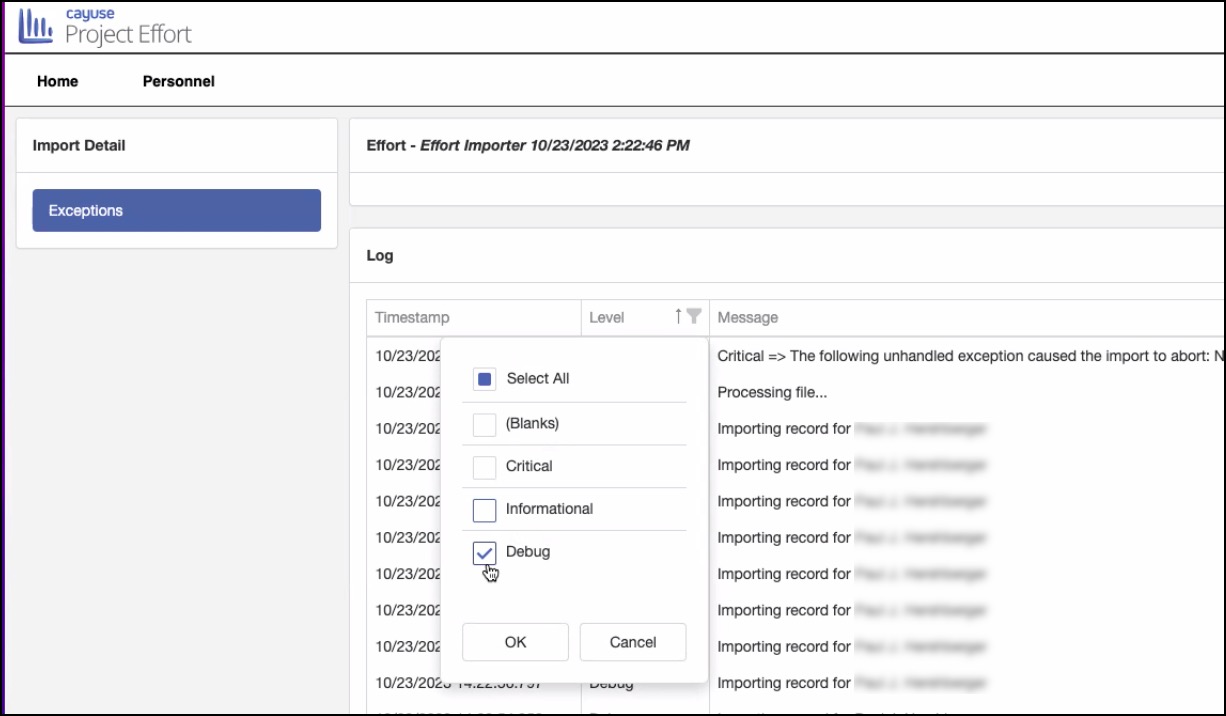
- Select the imported file to view important messages regarding the upload, including: Informational, Debug, and Critical messages. The default view provides all critical messages, therefore, your page might be blank if you have no critical messages. In that scenario, you may filter to view Information and Debug messages.
- If any of the salary transactions in the upload are missing data, an exception will occur on that transaction and you will see a Critical message. Critical messages can be resolved and reuploaded, or ignored and deleted with no upload. An option to reverse an import is also available.
- Resolving Critical messages: Change data in the application as specified in the message. Once that is complete, select the Load button in order to reload the records that initially had exceptions.
- Deleting Critical messages: Select Delete All in order to remove the messages without fixing or re-uploading those records.
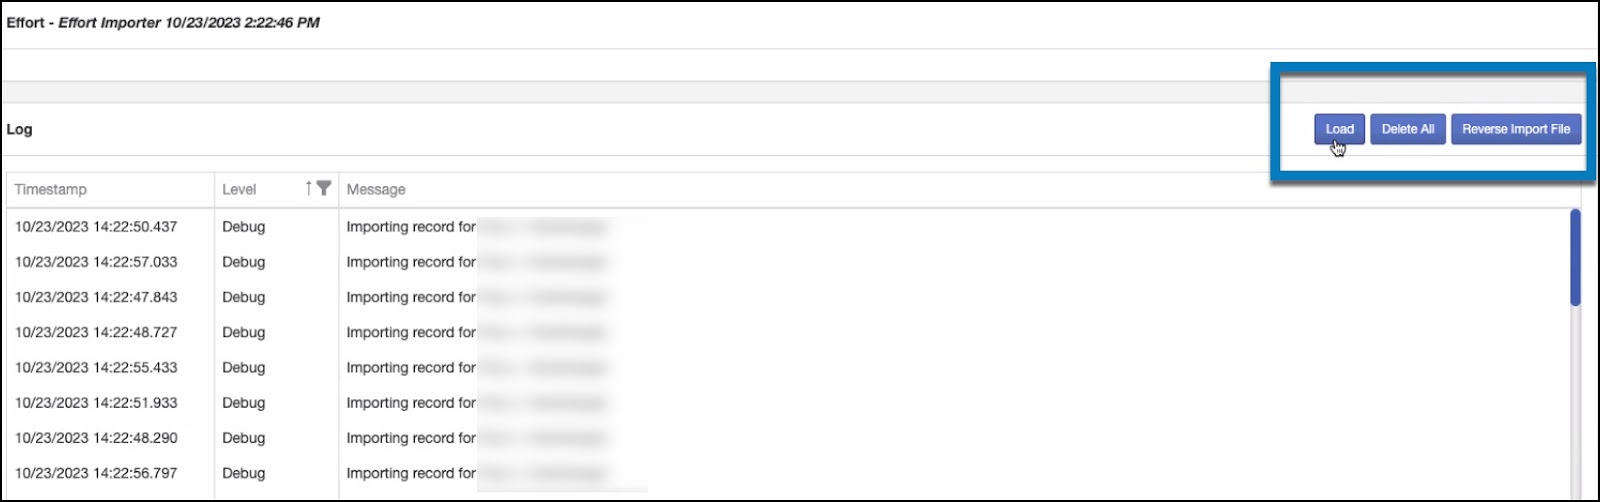
- Reverse Import File
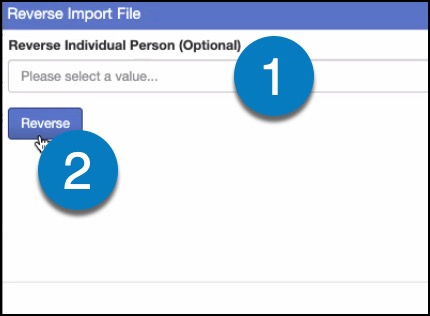
- Reverse an Individual Person: Select a name from the drop-down list or begin typing to reverse an individual person and then select the Reverse button.
- Reverse entire file: Select the Reverse button first without selecting an individual name from the drop-down list.